Change your lens, change your story
3 Ways To Take Your Photography To The Next Level
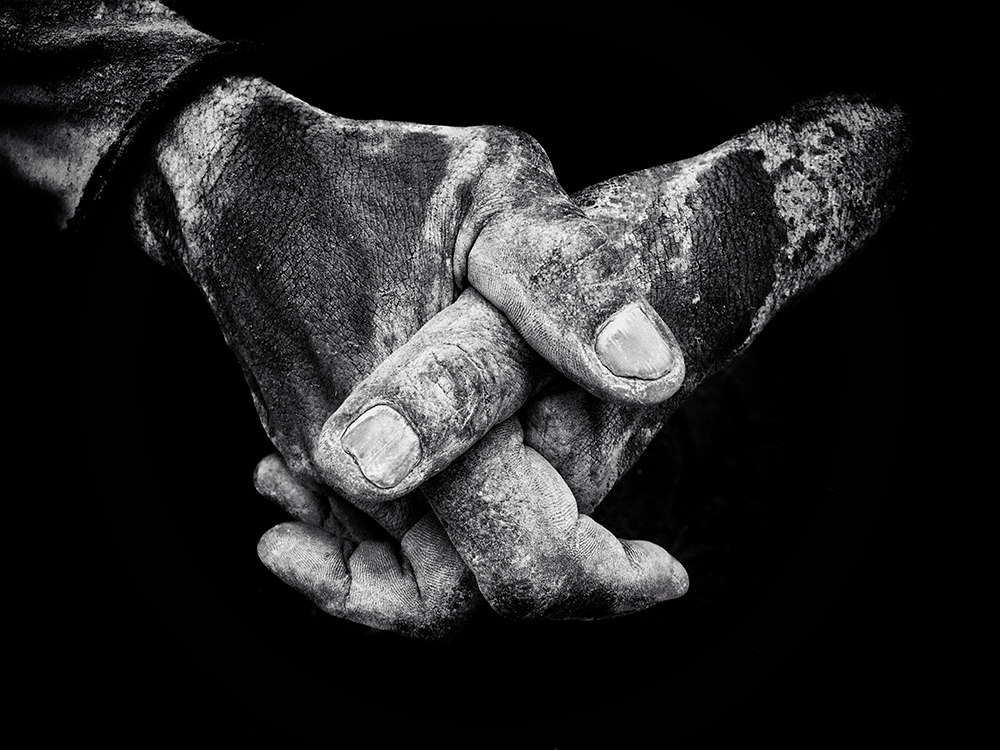
1. Photograph Something Different
One of the things many photographers are guilty of doing is photographing the same things over and over again. If you did the same thing again and again, eventually you’d get fed up with it. So, a great way to boost your passion for photography is to photograph something completely different. For example, if you are a travel photographer, spend some time photographing wildlife. If you take portraits, start photographing food.
2. Work On a Brief
Remember when you were at school and had to work on projects set by the teacher? It required you to learn about the subject, think about it and create a piece of work to present to your teacher. The concept of working on a brief is the same. You are given a topic or subject to photograph, and you take photos that answer the brief.
The project could be anything from a simple task of documenting a local event, to photographing a remote tribe in another country. Many people who take up photography as a hobby take photos of things that they come across rather than a specific brief. Working on a brief can help focus your photography and make you think about things differently.
3. Set Yourself a Challenge
Another way to improve your photography is to set yourself challenges. These can help diversify your portfolio. For example, you may have lots of photos but are missing some nice close-ups. So, set yourself a challenge to capture one close-up image every day. Perhaps you have a weakness in a specific area of photography? Set yourself a challenge to improve that one element.
If you are a shy person and struggle to approach people to take their photo, set yourself a challenge to photograph ten people in one day. You’ll be surprised how much more confident you feel after doing so.
“When words become unclear, I shall focus with photographs. When images become inadequate, I shall be content with silence.”
— Ansel Adams
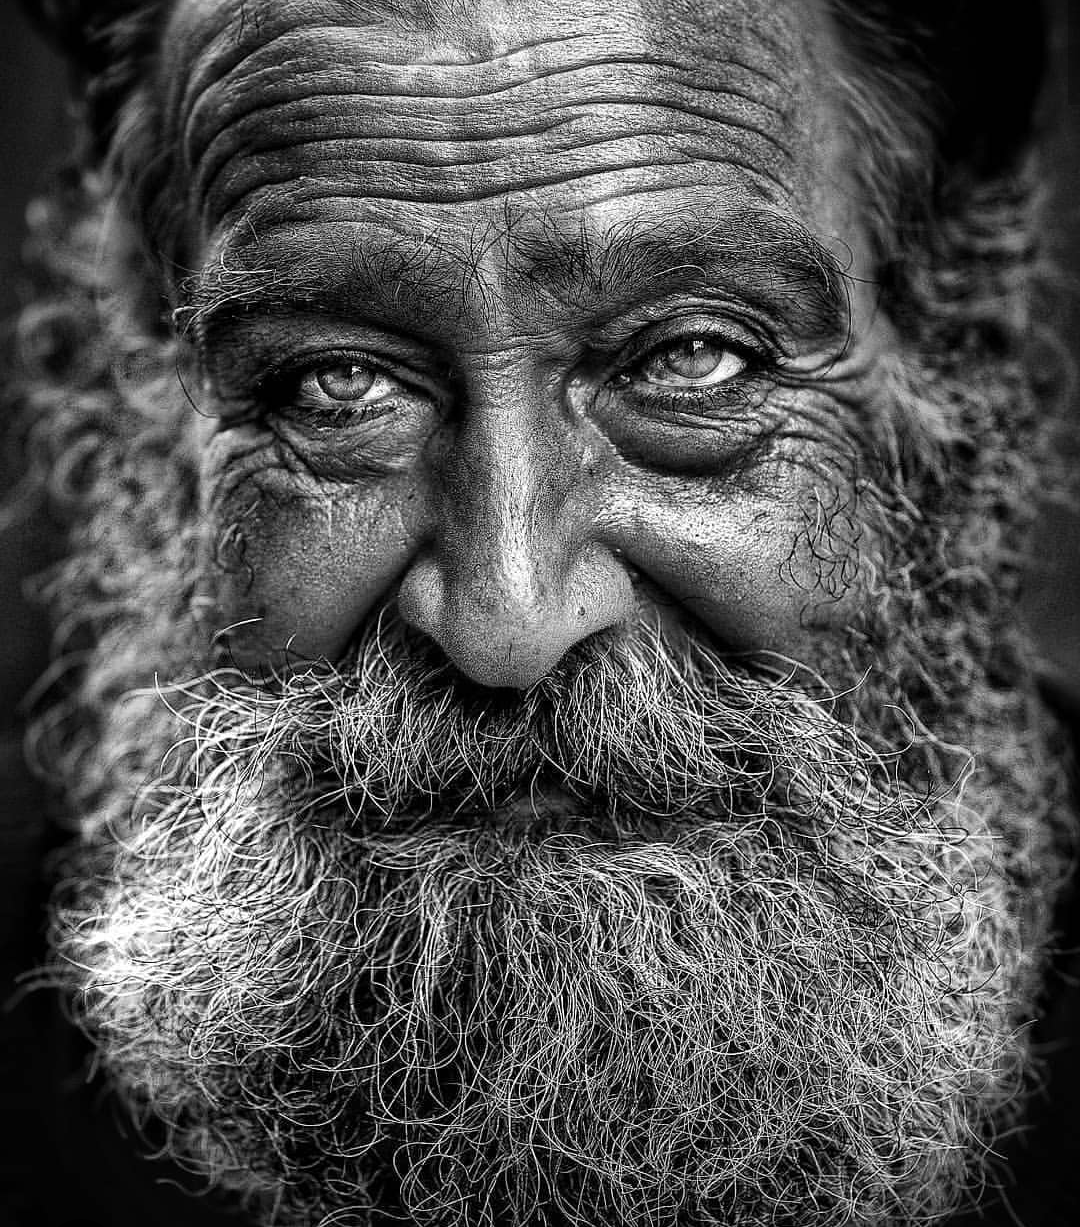
Focus On Faces
This is a fairly straight forward bit of advice that may seem obvious, but many of us avoid people photographs when in a new situations with strangers. When possible, always ask permission before taking a picture of stranger, especially head on. Again, remember your mood will possibly influence theirs and if you are trying to capture them as naturally as can be (without being a sniper hiding in the shadows), keep your demeanor as neutral as can be. Simple raised eyebrows while pointing to your camera does work and it doesn’t require a huge smile on your part, as if you are asking your subject to smile back.
Chances are they will convey what they wish. If life is hard, they likely won’t smile and their face will often tell the tale of their hardships. If they are joyous, or just young, you may get a beaming smile. And with any good portrait, remember to get sharp focus on the eyes. And share the results with your subject if you can.
Set Your Camera Down And Observe
I tend to get lambasted when I tell people to stop shooting and set the camera away, so this time I’ll simply tell you to put the camera down for a minute. Forget about shooting and just sit and observe. Your mood has a big part in what and how you shoot, but also realize that being a shooter in a situation often means you travel in a bubble.
To break out of that bubble and absorb more from the world in which you are immersed, sit. And observe for 15 minutes. The mood of those around you will often become more apparent with this relaxed stance.
“One touch of nature makes the whole world kin.” ~William Shakespeare
Gear
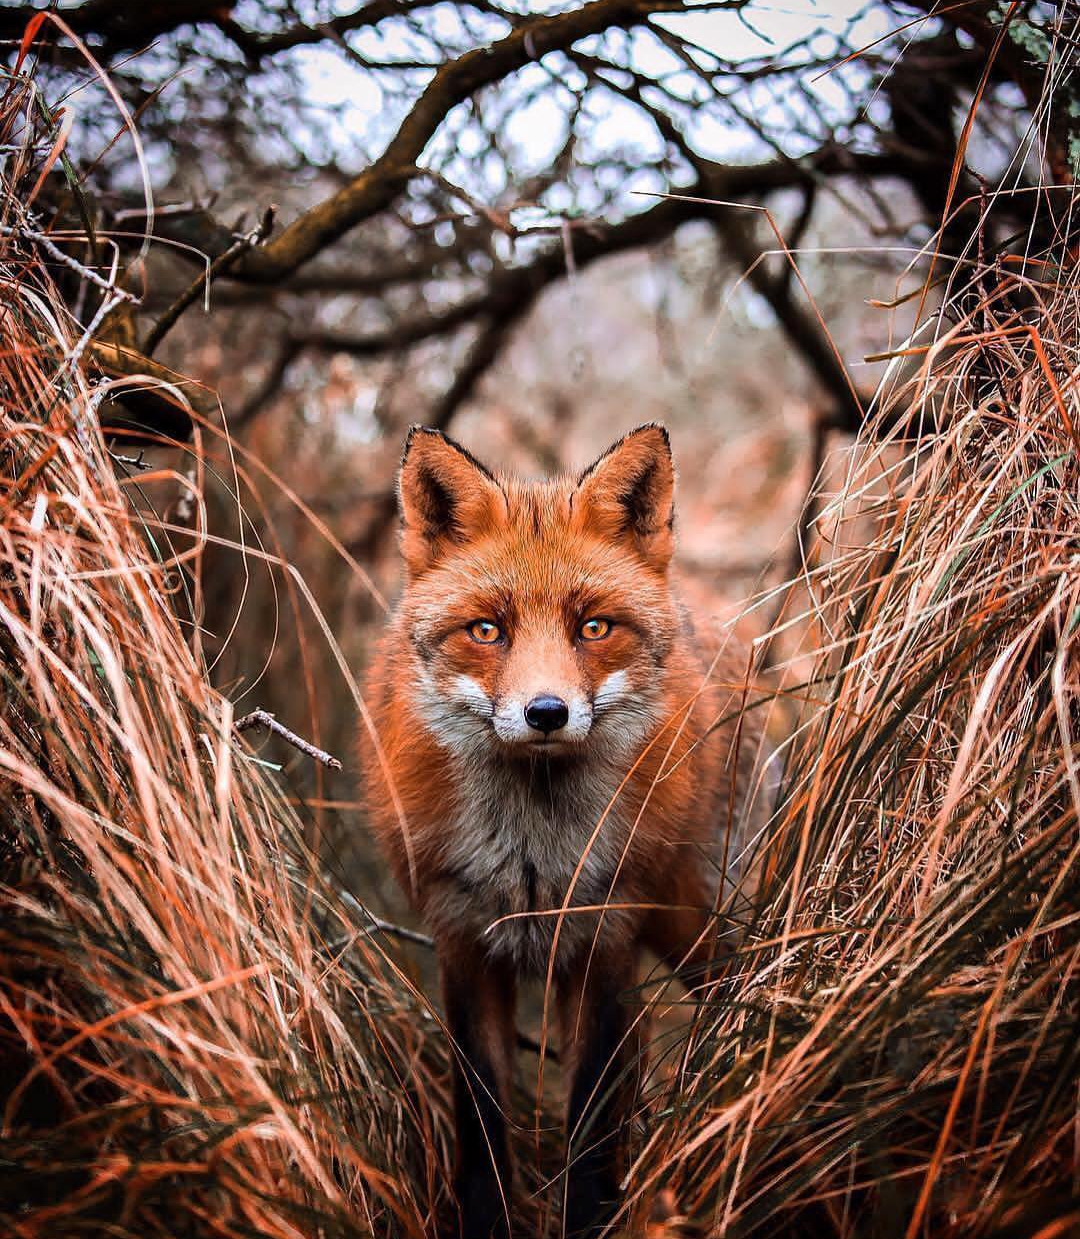
First let me say I am not a gearhead. I don’t keep up with the latest trends. I find what works, and I use it. I feel like there is too much attention on always having the very latest and greatest, and the art and the soul of photography get lost in the discussion. But there is no denying that good gear is critical to wildlife photography, so I will first touch on what I see as the essentials and mention what I have (though remember, I am a working professional, and my needs are more extreme than they may be for non-pros).
Camera. In general, I think the most important features of a top wildlife photography camera are: an accurate, fast autofocus system; a high rate of frames per second (at least 8 fps); high ISO capability (as so many of wild animals are most often seen at dusk and/or dawn); very good image quality that can handle moderate cropping (at least 20 megapixel resolution); and weatherproof build quality. I have a Canon EOS-1D X Mark II. For me, it’s the best Canon camera currently on the market for quality images of fast-paced wildlife action. My camera is full frame, but APS-C and smaller sensor cameras can be a big asset for wildlife photography, as the magnification factor of a smaller sensor enhances telephoto reach. I am hoping to someday have all of these features in one camera, plus a silent shutter.
Earth and sky, woods and fields, lakes and rivers, the mountain and the sea, are excellent schoolmasters, and teach some of us more than we can ever learn from books.
John LubbocK
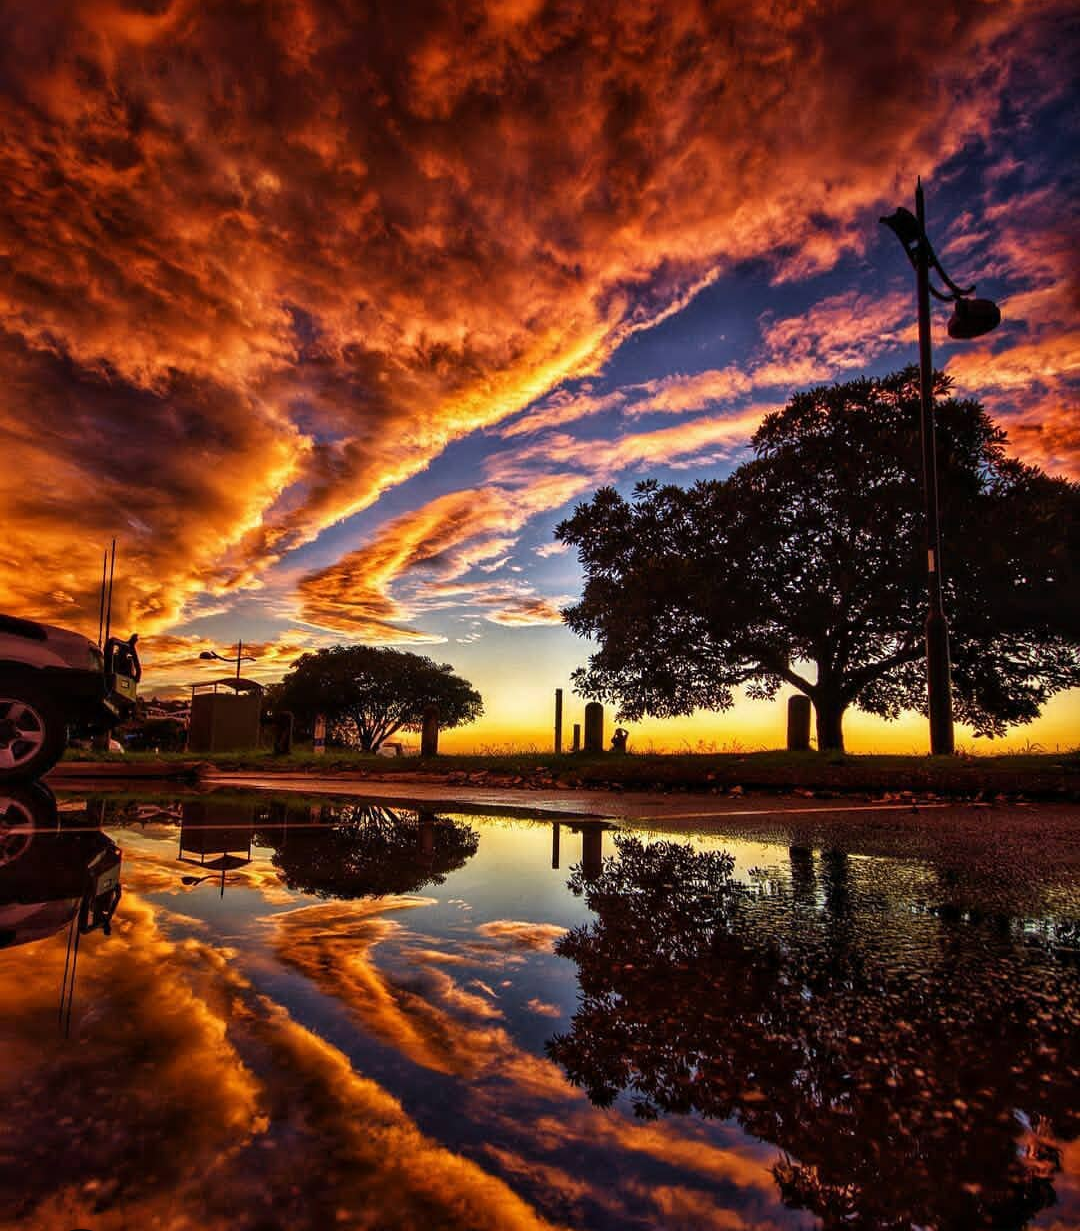
Landscape photography is a favorite with professional and amateur photographers alike.
There awaits a wealth of natural landscapes filled with beauty and drama, always changing with the seasons. To avoid taking bland images, follow these top landscape photography tips.
It is very easy to get carried away with settings and gear. Oftentimes, the best advice is to take one lens and on camera body on a shoot. The less gear, the easier it is to concentrate on every other aspect. People are not interested in seeing a technically perfect portrait. They want to see a creative portrait.
Moreover, every DSLR has an aperture priority mode. This setting allows the photographer to choose the f-stop and iso, while the camera chooses the right shutter speed to expose the image properly. Why not let the camera do the extra homework, while the photographer focuses on more important details? Sometimes the camera will not do a good job in choosing the shutter speed, which can be easily overrided with the exposure compensation setting. This is easier and less time consuming than re-adjusting all the manual settings every time the location is switched.

